Piparireunaa – Scallop Edge / DT Practical Scrappers

Piparireunukset ovat aiheena tänään Practical Scrappersissa. Käy kurkkaamassa kaikki 14 ideaa! Itse päädyin tekemään DT-työni käyttäen piparireunaista taustapaperia, joka on minulla ollut vuosikausia. Tuommoinen voimakaskuvioinen paperi on vähän hankala käyttää, mutta onneksi on gessoa! Sillä saa villeimmänkin kuvion hillityksi, levittelee vain tarpeellisen määrän maalikerroksia ja niiden kuivuttua voi sivun koota mukavasti siihen päälle!

Have a look at Practical Scrappers’ all 14 ideas of how to use scallops! I ended up making my DT work using scallop edged background paper. A busy pattern like the one in here can be difficult to use. What I did with this paper was a couple of layers of gesso applied all over the paper. It subtles down even the wildest patterns!

scallop - barefootwalk 01

Supplies: Making Memories, Basic Grey, Sizzix, Stampin’ Up, Sakura, Tattered Angels, other: gesso, burlap

barefootwalk 02

Olen kovin ihastunut Stampin’ Up!in sulkaleimasinsettiin ja niitä leimoja sekä saksia käyttäen kokosin kuvan yläreunaan oikein sulkasadon! Oli siinä vähän leikkaamista, mutta kaiken vaivan arvoista mielestäni kuitenkin!

I love the Stampin’ Up!’s lovely feather stamp set! I used the stamps to create the bunch of feathers on the top of the photo. Lots to be cut with scissors but all worth it in the end!

barefootwalk 03

Paikka, jossa kuvat on otettu: Conkers -aktiivimetsä. Aivan mahtava paikka lasten kanssa!

Place where the pics were taken: Conkers Adventure Forest. A fantastic place to go to with children!

Pienet pakettikortit – Little Gift Tags with Tutorial

tag08

Minua pyydettiin tekemään kasa pakettikortteja. Päädyin tämmöisiin sydämiä täynnä oleviin purnukoihin. Aika söpöjä, eikö vain?

I was asked to make a bunch of gift tags. I decided to go for these cute mason jars filled with sparkly hearts. Adorable, aren’t they?

tags01

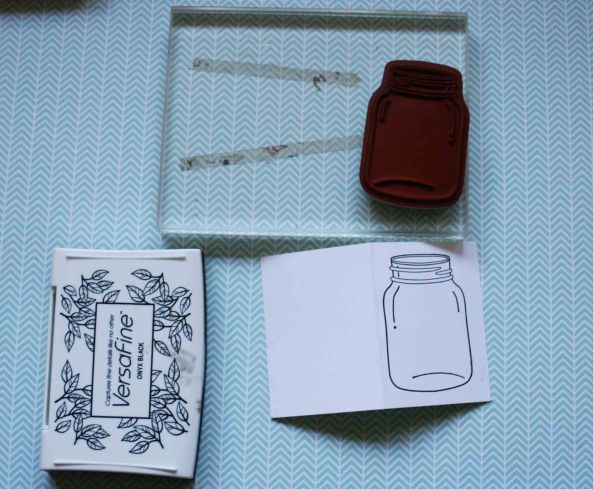
Tarvitsin valkoista kartonkia sekä purkkileimasimen (Stampin Up: Perfectly Preserved).

I needed some white card and a jar stamp (Stampin’ Up: Perfectly Preserved).

tags02

Leimasin kuvan mustalla musteella.

I used black ink to stamp the image.

tags03

Stampin’ Upilla on tähän leimasinsettiin sopivat stanssit, jotka helpottavat leikkaamista. Huomioi kuvassa vasemman reunan yli menevä stanssi – näin saat aukeavan kortin sen sijaan, että syntyisi kaksi erillistä purkkia. Jos stansseja ei ole, voi leikkaamisen toki hoitaa myös saksilla.

Stampin’ Up has a matching Framelits set to make the cutting part easy. Just make sure you overlap the cutting frame correctly so that it leaves one side (here it is the left) uncut so that you will get an opening card instead of two separate jars. If you don’t have the Framelits set you can always use scissors too.

tag05

Napsuttelin kimallepaperista reippaan kasan sydämiä (paperi ja leikkuri Stampin’ Up).

Using a tiny heart punch I made a pile of little hearts (both the punch and the glitter paper from Stampin’ Up).

tag07

Leimasin korttien sisälle hyvän joulun toivotukset, leikkasin pienet reiät purkin kiereiden sivuille ja pujotin pellavanarun läpi. Leikkasin Crop-a-Dilellä reiät pakettiin ripustamista varten. Sydämet liimasin purkkiin sopivan keikkuviin asentoihin – niin kuin ne olisi ripoteltu purkin sisälle.

I stamped the Merry Christmas sentiment inside of the tags, I punched little holes for the linen thread on the top part of the jar. I used a Crop-a-Dile to make holes for the ribbon attaching the tags to the parcels. The hearts I glued on the jars as if they had been scattered randomly inside of the jars.

tag06